
 Don’t let the idea of starting your own transplants scare you off. Starting your own transplants can be a rewarding experience as long as you follow a few simple rules and have the proper equipment. The first step is deciding what you want to plant in your garden. Once the vegetables have been selected, figure out what needs to be started indoors and what can be direct seeded, planting the seeds directly in the garden soil. Beans, beets, cucumber, pumpkin, squash, melons, peas, lettuce and greens are ideal vegetables for direct seeding. Vegetables like broccoli, cabbage, cauliflower, kohlrabi, eggplant, pepper, and tomato do best when placed outdoors as transplants rather than direct seeding.
 Next sort the vegetables into cool season and warm season crops. Cool season crops like broccoli, cabbage, cauliflower, and kohlrabi, can handle cooler spring temperatures, along with an occasional light frost, and can be planted in the garden earlier in the year compared to warm season crops. Eggplant, pepper, and tomato are warm season crops and shouldn’t be planted in the garden until after the threat of cold temperatures and frost has passed, usually around Mother’s Day.
Once you have your vegetables sorted into warm season and cool season crops, it’s time to break out the calendar. Cool season crops can be planted in the garden as early as April 1st and as late as May 10th. In order to have vegetable transplants ready to plant in the garden around April 1, they are going to require to be started indoors 6-8 weeks prior to that. Count backward from April 1, which means cool season transplants would need to be planted indoors around February 17th. Warm season crops will also take about 6-8 weeks to get to the proper size, but they shouldn’t be planted into the garden until around May 10. Again counting backward 6-8 weeks from May 10, the warm season crops should be started indoors around March 22nd. Keep in mind these are just guidelines. Technically warm season crops can be planted in the garden earlier, but you have to remember we live in Nebraska and there isn’t any guarantee for a ‘normal’ spring. If you want to roll the dice and plant in the garden earlier, plan accordingly with planting the transplants earlier, but be prepared for Nebraska’s weather.
There are a number of containers that are commercially available for starting plants indoors. From plastic trays, to plastic cell packs, to peat pots, or compressed peat pellets, the key is finding the one that works best for you and your budget. It might take a little experimenting, but there is an option out there for everyone. Once you have selected the container, the next decision is to select the proper soil or planting media. The media has to have good drainage and remain soft so the  seedlings can sprout. Garden soil does not work well for starting seeds. It is often too heavy and doesn’t drain well enough for new little seeds and it can crust over, making it difficult for seedlings to sprout. A soil-less mix or potting media will work in most instances. Vermiculite is also a common seed starting media.
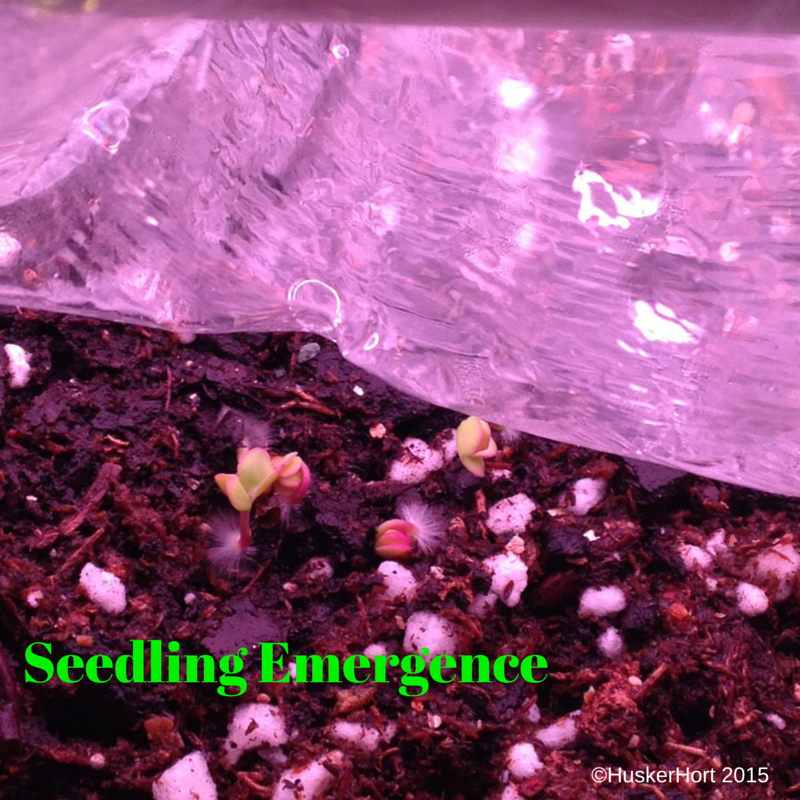
Now comes the fun part, the planting. After the container has been filled with media, add the seeds. If you are using cell packs, 1-3 seeds per cell will ensure at least one will sprout. If you are using a tray, make sure to leave room between seeds so you can easily pull out the seedlings to transplant into a larger container. Cover the seeds with a sprinkling of fine potting mix or vermiculite and water thoroughly with a fine sprinkle or mist. If the container comes with a plastic cover, place that on now. If your container doesn’t, you can use cling wrap to keep the humidity high for the seedlings, just make sure that the seedlings don’t stay too wet.
 Planting the seeds is the easy part, once they emerge is when the work begins. The care that the seedlings require depends on how they are planted. If you planted several seeds directly into the cell packs or larger pots, now is the time to thin the number of seedlings in each cell. It is best if you clip or cut the weaker seedlings out of the cell packs instead of pulling. By cutting the weakest seedlings off at ground level, you are ensuring that the root mass of the strongest seedling remains intact and undisturbed. If you planted into a seedling flat or planted seeds into one container, then the seedlings will need to be transplanted. Pick another larger container that you want to put the transplants into and fill with potting media, not garden soil. Select the healthiest looking seedlings and carefully remove them from the flat and place into the new container. Make sure that the newly planted seedling is well watered. Take extra care not to pinch the stem as this can damage the water movement vessels in the stem and cause seedling damage.
 One of the most important needs of seedlings is light. A sunny window or providing supplemental artificial light will help to ensure the plants grow quickly. Plants that are receiving enough light will remain compact and the leaves will be a nice dark green color. Plants that are a light green color or have a long internode or are stretching over toward the window are signaling that they need more light. If you are using artificial light, try to keep the light as close as one inch away from the plants. One inch might not seem far enough away, but the florescent lights don’t produce that much heat to damage the plants as long as they are not touching the light bulb. As the plants grow taller, keep moving the light farther away from the growing plants to make sure they aren’t touching the bulb.
How you water newly planted vegetable seedlings is also very important. There is a fine line between keeping the seedlings just moist enough, but not overly wet. Until the seeds germinate, or sprout, the top of the soil surface needs to remain moist enough that the seedlings can break through the soil surface. Once the seedlings sprout, the amount of water can be cut back to watering when the soil surface is dry to the touch. Damping off is a common infection that occurs in seedlings that are growing in a cool moist environment. It is commonly caused by fungi and causes the seedling to rot off just below the soil  line. Pay close attention to the seedlings and check for issues on a regular basis.
Plan ahead, provide the proper environment, and be on the lookout for potential problems, before long the transplant crops you start now will be ready to be placed in the garden.
For more information contact Elizabeth Killinger at elizabeth.killinger@unl.edu, 308-385-5088, her blog at https://huskerhort.com/, HuskerHort on Facebook and Twitter, or visit the University of Nebraska-Lincoln Extension website: hall.unl.edu.
